The promise of vibe coding
Ahh, the joys of vibe coding.
You just ask an AI chatbot to build a web page or app for you, describing the details in natural language and ‘voila!’. Your vision has come to life!
In minutes!
No expensive developers.
No spending months trying to “figure it out” on your own.
No need for years of education.
Even experienced software engineers and UX designers have seen this shift from being a craftsman to an orchestrator.
Some skeptical (a.k.a. terrified). Some excited.
I belong to the second category.
Vibe coding: before and after
Back in 2021, I started building the Lyric Boost app, a workspace for songwriters and music artists to overcome writer’s block to finish more songs. I even planned to incorporate AI music generation capabilities (a seemingly impossible ambition at the time).
I had two options:
- Manually build the app myself
- Hire designers and engineers to help me build it
Luckily, as a skilled frontend engineer and UX designer, option 1 was accessible to me. In fact, I even leaned on option 2, hiring fellow engineers to help me solve tricky React programming issues.
But even then…I had to greatly limit the scope of the app.
Lyric Boost in 2021 was essentially a freestyle word generator, showing a random word on a screen for several seconds at a time while an instrumental plays. Users freestyle lyrics on the spot based on the current word and then move onto the next.
A small slice of the full concept I had in mind.
Due to a combination of factors (relocated for a new job, difficulty building app functionality, limited budget to hire developers) I shelved the project.
Fast forward to 2025, after hearing about people building apps within days thanks to AI, I decided to bring Lyric Boost back. Partially motivated by seeing AI music apps spring up (and not wanting stand at the sidelines saying “hey, that was my idea!”), I returned to my project with new found vigor.
But this time, things were different.
What used to take weeks to build can now be done in an hour.
Things far beyond my domain of expertise were doable in minutes.
I can sketch a layout, take a picture, and have it built in seconds.
I was able to get significantly more progress with building the app this time around. Since then, Lyric Boost has been used by hundreds of artists and songwriters.
But as I’ve observed through my own experience, as well as watching others build with AI, the process isn’t all rainbows and unicorns.
Why is the vibe off?
Well aesthetically, it kind of is ‘rainbows and unicorns’.
Have you ever seen a website or app and thought “yeah…this is 100% AI-generated”?
Like someone got the assignment to “make the coolest, shiniest app ever! Yay!” and went to work. Perhaps borrowing design cliches from 10 years ago, making everything colorful, magical, and trying to “wow” users.
The app sort of looks good and functions well (kind of), but just feels…off.
The paradox of being overly helpful
A common issue with using AI to make just about anything is that it tries way too hard…to do way too much.
Whether it’s graphic design or web design, article writing or lyric writing (believe me, I know), AI tends to trip over itself to be helpful.
This is especially visible with app development:
- Every button is big, shiny, rounded and bright
- Every element ‘fades in’
- Large text that looks bad in mobile
- Gradients everywhere! (why??)
- Over explanatory micro copy
The challenge is, in isolation, some of these “AI decisions” can make sense.
The downside is, without making informed decisions on what your users expect when using your app, a bunch of reasonable decisions that make sense on their own can lead to terrible results when put together.
Good UX design = trust
And this isn’t even just a design snob thing. Sure, when I see AI slop, I throw up in my mouth a little. But that’s not the point.
As an artist at heart, I’ve learned to let go of my subjective opinions on what “good” looks like.
Getting people to buy what you sell matters way more than how tight your branding and web design is. I’d rather an ugly product that sells than a beautiful one that doesn’t.
But let’s be real: small things add up.
Sure, you may forgive weird oversized text or an odd button placement in an app you encounter.
But after seeing 20 of these minor infractions, you might feel that it’s just more trouble than it’s worth. At worse, you may be hesitant to even enter your credit card information.
The site or app could be 100% legit, but it just doesn’t feel that way.
Hidden complexity and debt
And this isn’t an engineering snob thing either.
Look, I’m all for “clean code” and craftsmanship, but vibe coding is here to stay. Some of those rules we engineering nerds hold so dearly are not as “essential” as they used to be.
So I’m not going to scold you (or myself) for flouting the rules in regards to some obscure code principle that doesn’t matter to your app’s users.
But fundamentals do still matter. AI has made it much quicker to build, but there are real pitfalls to just letting the vibes take over.
Some of those issues include:
- Security and permission gaps
- Data stored in ways that cause problems later
- Different parts of the app getting out of sync
- Small changes unexpectedly breaking other features
- Simple features becoming harder and harder to add
Sure you can use AI to solve these problems later, but if you’re not aware of them early on, you can end up playing whack-a-mole trying to fix issues in your app.
Importance of preperation
This is the part that I feel get’s glossed over in most discussions about vibe coding.
Not just preparing your business in the macro sense, but creating a plan specifically for your app.
Define who your app serves and what it does.
Gather references for the design and user experience.
Choose the platform and tools to build with.
Build the core flow to see your app in action.
Think it through
If you don’t have a background in programming or design, my earlier caution can feel out-of-touch at best, discouraging at worse.
But don’t fret. There’s a way to approach vibe coding that will get you great results even if you don’t have prior experience building apps.
Question everything
As Dale Carnegie once said, “An hour of planning can save you 10 hours of doing.” This is true even in the fast paced world of AI-assisted software engineering (a.k.a. vibe coding).
“But why waste time planning when you can just build?”
Thanks for asking :). Planning your app is essential to ensure you know what you’re building and why.
And not just “I’m building a booking app for hair stylists to manage clients” but defining how this process will go.
You don’t need to address all of these things in minute detail before you start. But the act of putting these things in writing helps guide your decision making as you build.
To work through this, use the prompts below. Replace the bracketed text with your details.
Organize your planning
After gathering information in the planning phase, it’s important to actually organize this information.
Don’t just ask ChatGPT or Claude for answers, nod your head and move on.
Here are some steps to organize your planning:
- Create a dedicated folder in your AI chat platform (ex. Projects in ChatGPT)
- Create a folder in Google Drive. This folder will contain documents, spreadsheets and other planning artifacts.
- Create a general planning document in Google Docs. Organize the document into different tabs, containing:
- Chat responses right from your AI chat messages
- Brainstorming from your own ideas and reflections
- Roadmap for app features
- List of objectives to carry out
- Sign up for a dedicated project management tool. I personally use Asana, but any tool that helps you organize your roadmap, objectives and tasks is fine.
You will need to refer to your planning artifacts on a regular basis.
Planning stack

Brainstorm and research
Store and organize files

Document your plan

Track and prioritize tasks
Steal like a designer
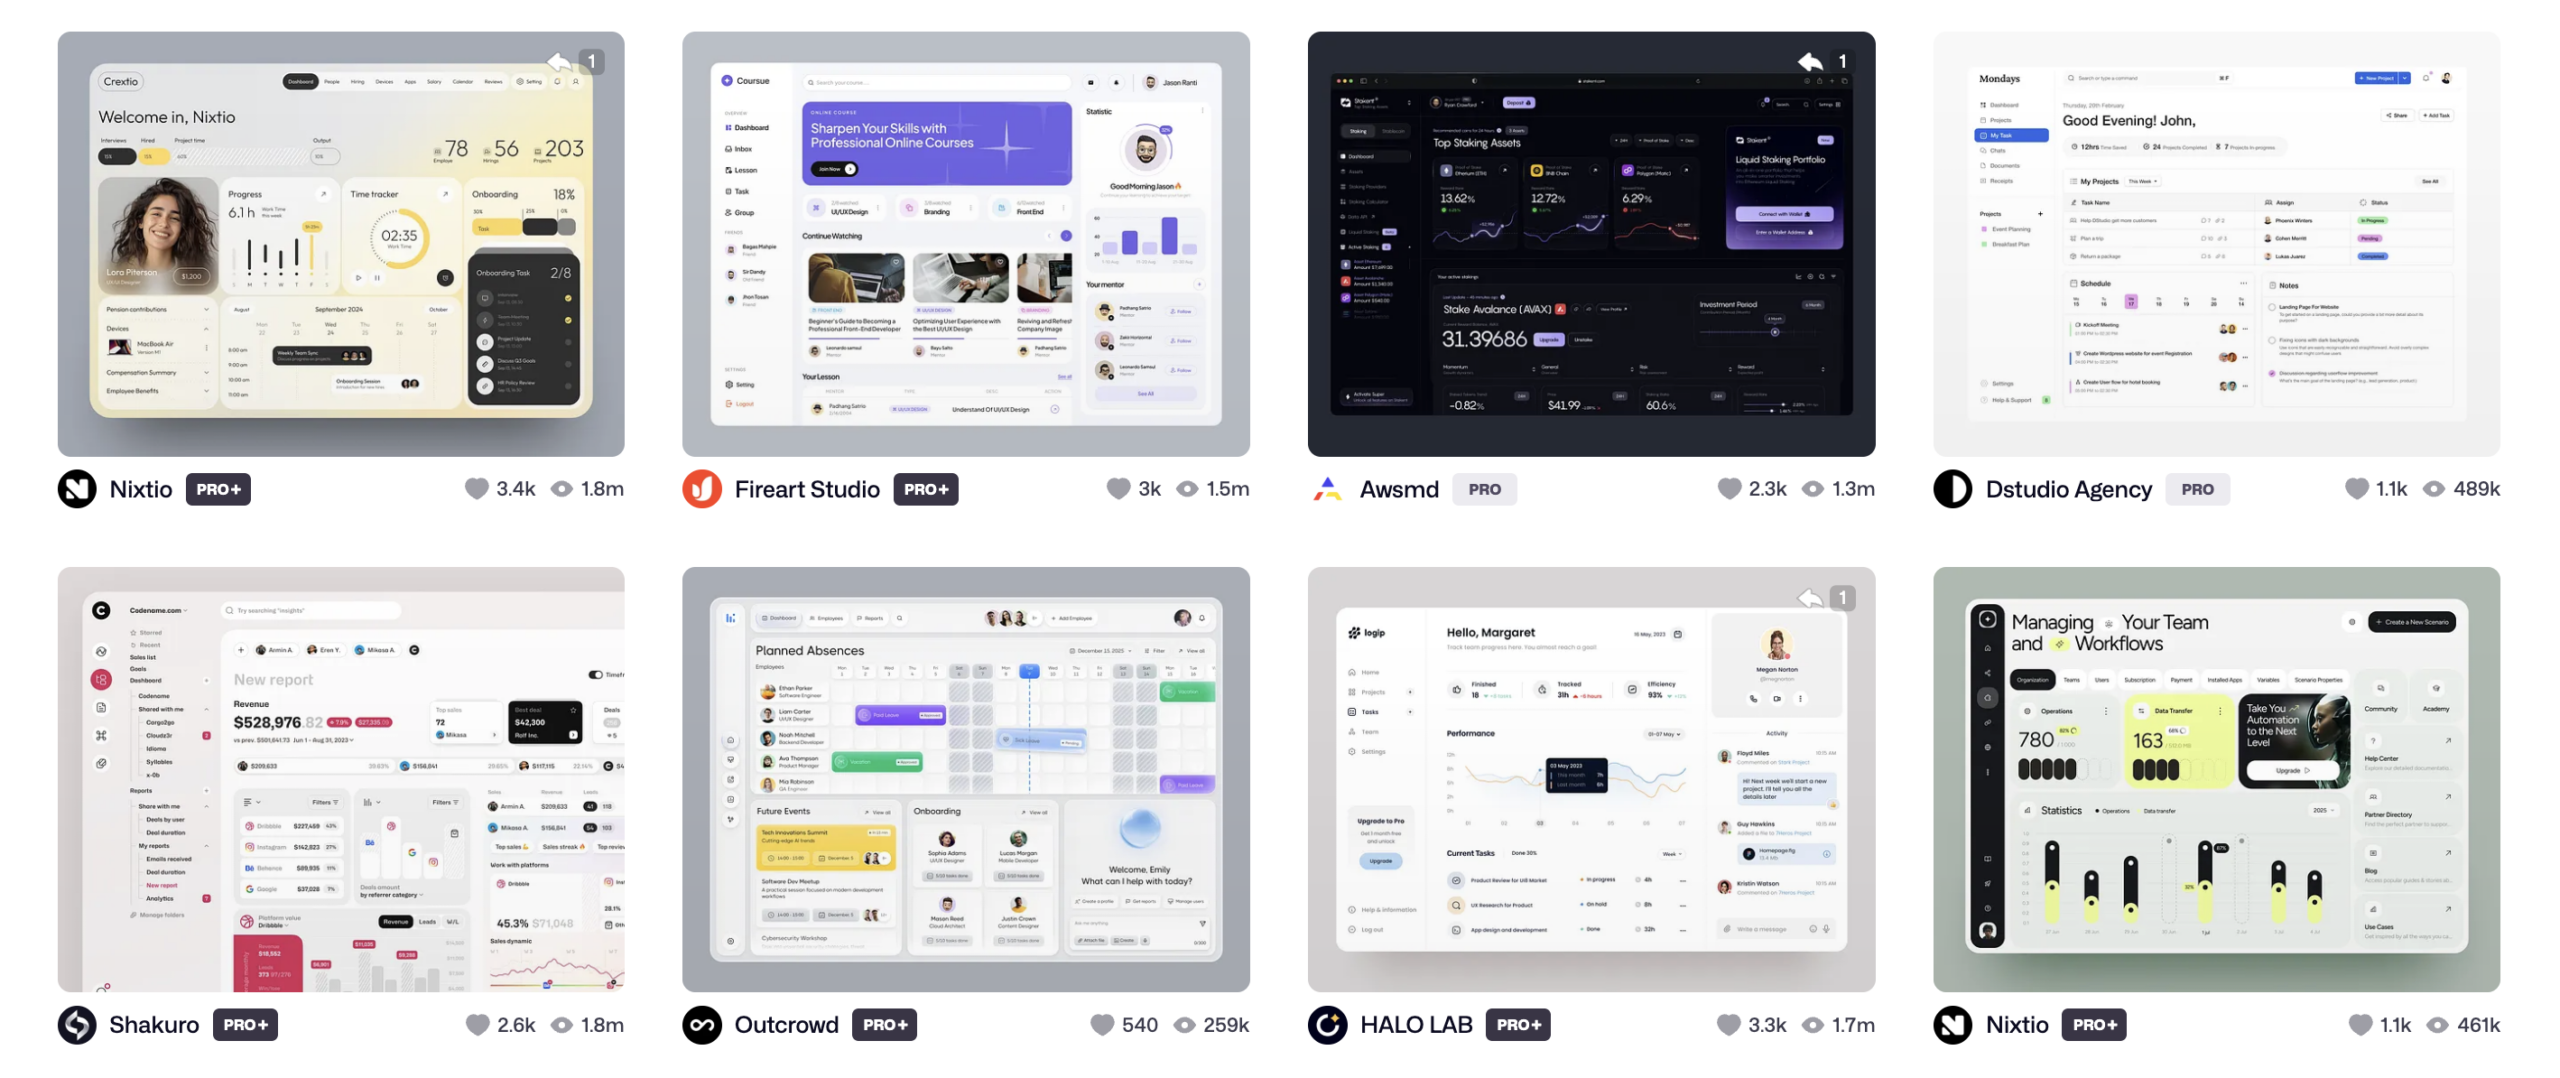
Before you start building, give yourself a design compass. Find a few apps whose layout, navigation, or visual style would suit what you’re making.
Don’t worry. This isn’t literally “stealing”. As long as you’re not replicating intellectual property (logos, brand symbols, photos, taglines, etc.) you’re not going to get into legal trouble.
With that being said, you don’t want to create a literal clone of the apps you’re referencing either (especially if you’re in the same industry).
Save screenshots or URLs and write down exactly what you want to borrow: the sidebar from one app, the booking flow from another, or the typography and spacing from a third. These notes will help you give AI clear direction when you start building.
You don’t need to design every screen upfront. Gather enough reference material to guide your first version. You’ll return to it once you have something you can actually use.
Gather target references
I’d gather three types of references:
- Similar or competitor app: See how another product solves the same problem.
- Great UX reference: Study an app with navigation and flows that work well.
- UI or branding reference: Find a visual style you like for colors, typography, spacing, and overall feel.
Be specific about what you’re referencing. “Use this app’s compact sidebar and this other app’s form layout” gives AI more direction than “make it modern.”
Some sites to gather design inspiration for references include:
Some of these sites require logging in and some have paid plans.
Sketch wireframes
In addition to collecting design references, you should also sketch out what your app screens will look like. With pencil and paper (or if you want to be fancy-shmancy, on a tablet).
You don’t need to be an artist (like me) to do this. If you can draw a rectangle, square, circle and squiggly lines, you’re good.
Usually what I’d do is pull up my design references and start drawing screens like the listings screen (ex. songs, products, projects, etc.), individual editor page, and dashboard.
Then, I’d indicate actions and draw arrows showing what happens when, say, the user clicks the ‘Create’ button and what modals / panels appear.
Peep the wireframes below that I drew up for Lyric Boost:
Song listing screen
Song editor screen
User onboarding screen
The cool thing is now with AI, you can take a screenshot of what you drew, upload it to your AI chat tool with a prompt to build based on the drawing.
And that brings me to the next point.
Mockup before coding
I recommend you ask your AI chat app to generate design mockups based on the references and sketches before you start actually vibe coding.
This may seem like a needless extra step, but this can help you visualize how things will look ahead of time. In the “old days”, UX designers would build designs using tools like Figma. Now, tools like UX Pilot and Uizard act as a dedicated AI designer.
You can use prompts like the following:
How to get started
Time to start building! Sorry to keep you waiting, but the planning and conceptualizing steps really do prevent much of the problems that vibe coding causes.
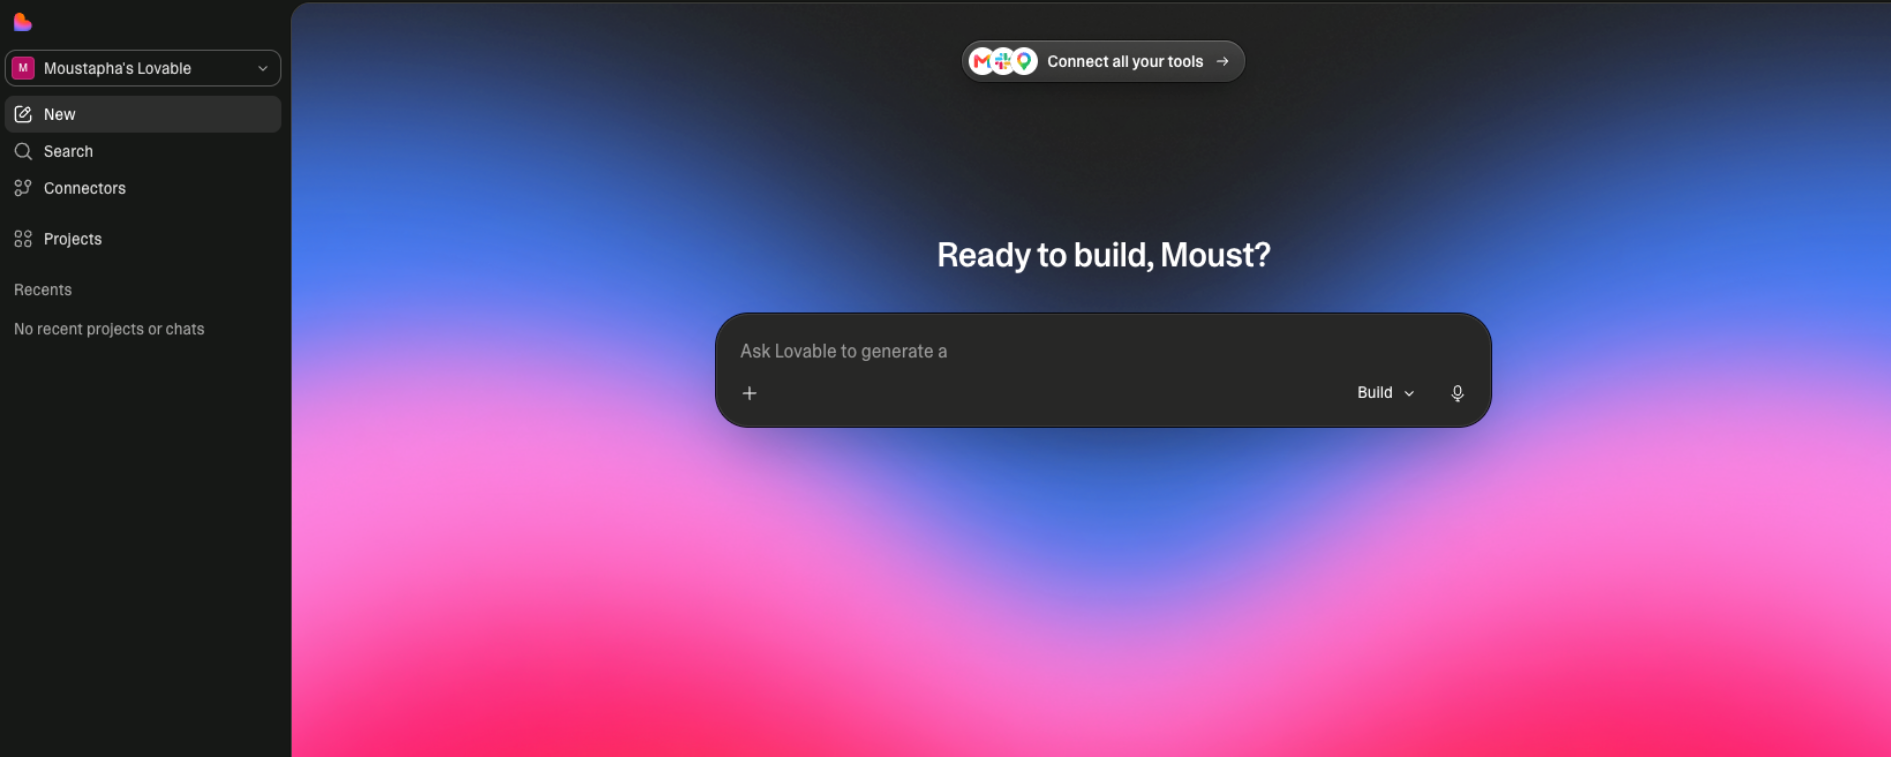
Option 1: AI app builders
There are two broad approaches: use an AI app builder, or build with a custom tech stack and an AI coding assistant.
App builders package much of the setup into one environment. That can make them useful for trying an idea quickly. Here are some options:
Before committing, check how the platform handles code export, integrations, pricing, and moving your data elsewhere.
Option 2: Custom tech stack
As someone who has built software before “vibe coding”, I prefer sticking to a custom tech stack. While there may be a learning curve with initial set up, you have far more flexibility around building and using AI tools.
Not to mention, you have better control over costs and flexibility around AI usage.
First, you’ll need to download an IDE (integrated development environment) program. While VSCode is my choice when building web apps, I’d recommend you use Cursor, as it is more “AI native”, with built in agentic AI capabilities. For mobile iOS apps, XCode is the way to go.
For version control (to keep track of changes made in the app), you’ll need to set up the following:
- Github account and repository (where your project code will live online)
- Git (for local version control on your computer)
Then comes the UI framework you choose. While iOS apps have the SwiftUI library, for web apps, the React framework is suitable for web experiences.
If you want to be like me and use VSCode, you will still need AI building capabilities. That can be achieved by installing the Github Copilot Agent plugin so you can have the AI build for you.
As for backend configuration, I recommend Supabase. It’s essentially a ‘backend-as-a-service’ platform that helps you set up databases to save, edit and retrieve information. In layman’s terms, it’s what makes an app an app.
We will go into more detail about database setup in the ‘Building a working app with AI‘ article, but it is a good idea to familiarize yourself with the concepts.
And finally, there’s the platform where you actually deploy the live app. While XCode handles deployment for mobile apps, for a web app, Vercel is a great choice.
Check out the prompts below to help you get started with a custom tech stack for a web app:
Build the prototype
Now comes the fun part: turning your plan into a functioning app.
Before jumping into connecting AI functionality and trying to create every screen and feature, hold your horses!
What we’re trying to do here is to get a quick, simple end-to-end win. Nothing super flashy just yet.
For a booking app, that might mean:
- Browsing providers
- Opening a provider’s details
- Choosing a time
- Confirming the booking
Choose one complete journey that represents the core of your app. Get it working before branching into more features.
Make the flow work
Use realistic sample data: provider names, available times, example projects, or whatever your screens need. Make sure users can move through the core task:
- Buttons and forms work. Users can enter information, make selections, and continue to the next step.
- Choices carry through. A booking confirmation shows the provider and time the user selected.
- Results can be reviewed. If your app turns notes into a project plan, start with a prewritten plan so you can test how users view and edit it. You’ll connect the AI later.
Bring your design references into this build, too. Attach relevant screenshots and explain which details should guide the layout. Get the screens clear enough to use and evaluate; you can refine the visuals once the flow works.
Here’s a prompt to help you with the rough draft prototype:
Refine in manageable pieces
Once that first version works, make focused requests. “Add a filter for provider availability” or “Let users change their selected time before confirming” gives you a specific change to review. Avoid piling unrelated features and fixes into one prompt.
Test after each change. Try the new behavior, then repeat the steps leading into and out of it. Adding a filter shouldn’t erase a selection or break navigation. Fix any problems before adding more.
Save your progress and decisions. Use version control or your tool’s version history to save working versions before substantial changes. Keep a short project document with the app’s purpose, scope, and decisions so you can give AI the context it needs in a new session.
You’re ready to move on when someone can complete the app’s main task from start to finish, even if some data and results are still simulated.
Road to MVP
With the core flow in place, you’re ready to turn your prototype into a minimal viable product (MVP).
In the next article, we’ll get into detail about refining your user interface, configuring AI functionality and laying the groundwork for a production-grade app.